Last updated on September 13th, 2021
 Got a bevy of beautiful parsley in your garden? You might like to dry it for winter culinary use. Dried low and slow, this culinary staple usually retains much of its peppery/grassy aroma. The following oven-dehydrating technique has proven successful for me:
Oh. Want to freeze your herbs instead of drying them? Be sure to read my detailed post: How I Freeze A Year’s Supply of Herbs.
Oven-Dried Parsley: Video Directions
Be sure to watch the video above, because it covers everything I know about drying parsley in a conventional oven. Included in the video are my thoughts on microwave-drying.
Parsley Drying: Photographic Step-By-Step
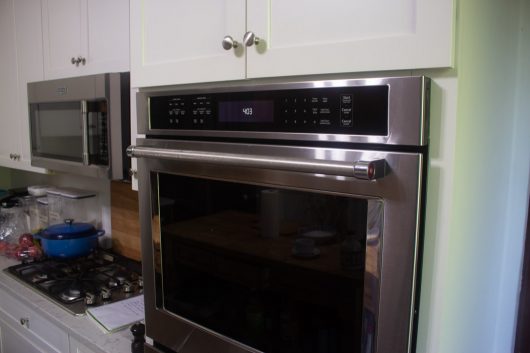 To start, preheat the oven to 350°F. We will reduce the oven temperature to 170°F when the parsley goes in.
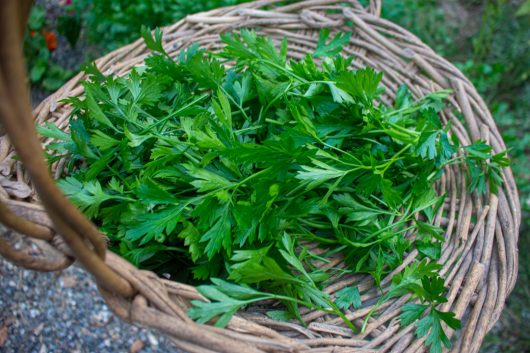 Snip, trim, and rinse the parsley. Most herb-drying enthusiasts pick off every leaf at this point, but that is a job I can’t be bothered to do. I simply remove and discard the tough part of the stem that has no leaves attached to it.
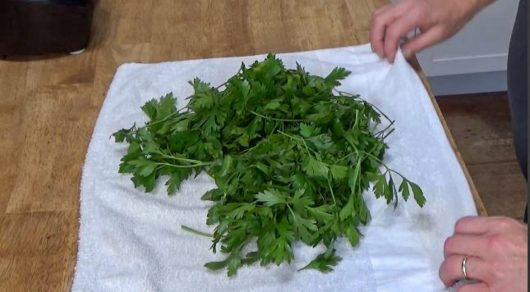 Spread the wet herb onto an impeccably clean terrycloth towel…
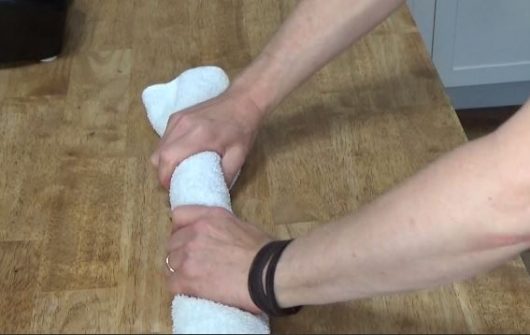 And then roll up and gently squeeze the towel to remove as much moisture as possible.
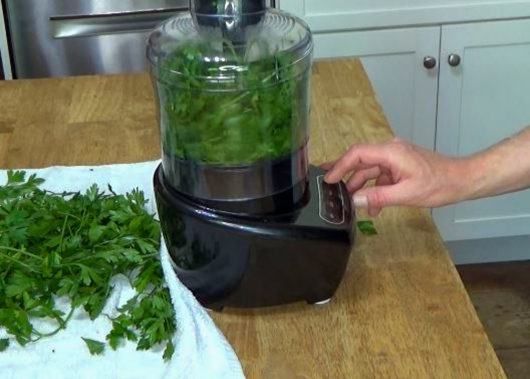 Here’s where my drying-technique is somewhat unique: I use a food processor to mince the leaves and stems. This way, the leaves and stems will be uniform in size, and their drying time will be…well, uniform!
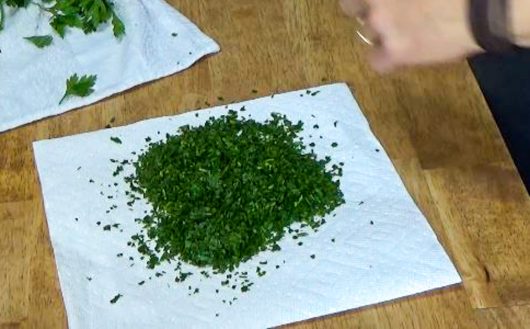 To further hasten drying time, dump the minced goods onto a double thickness of paper towels…
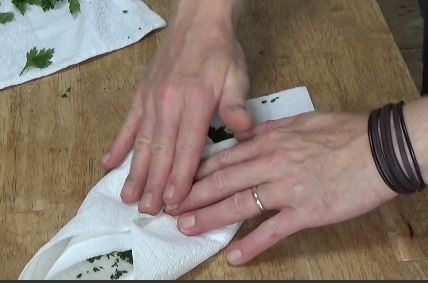 And then fold up the towel and gently press it, with your hands, to absorb moisture.
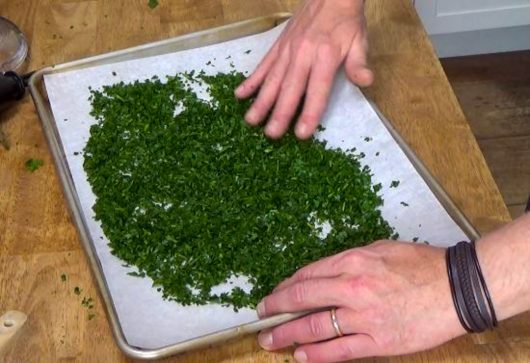 Spread the parsley as evenly as possible (don’t go nuts here) onto a parchment-lined baking sheet.
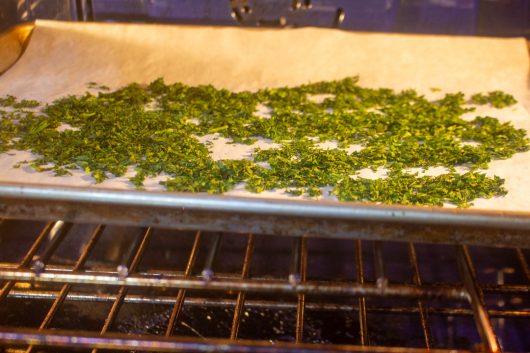 Pop the works into the preheated oven, immediately reduce the oven temperature to 170°F, and set the timer for 20 minutes.
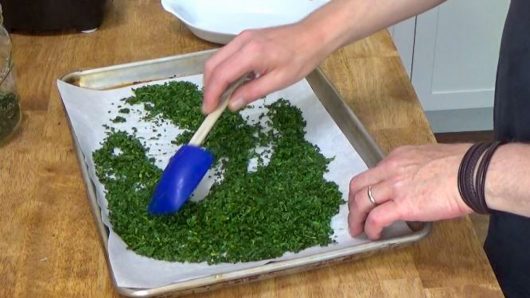 Give the parsley a toss after 20 minutes, and then spread it out as before. Also, press some of the leaves between your fingers to determine if they are nearly dry, partially dry, or barely dry. Depending on the amount of moisture that remains, the leaves will require at least one, or possibly two or three, additional 20-minute sessions in the oven. Always toss and check the herb after 20 minutes of oven time. Timing can vary, of course. You might want to check your herb after 10 or 15 minutes of oven time.
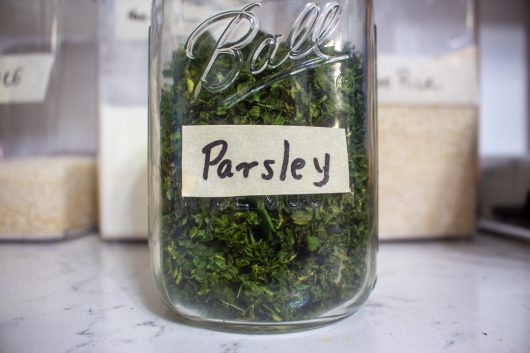
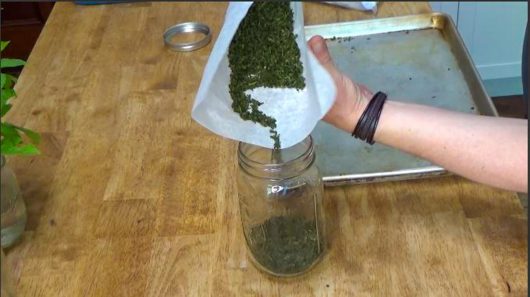 When the parsley crumbles into a fine powder when pressed between fingers, it is sufficiently dry for storage. Use the parchment paper to transfer the herb to a clean, dry jar that is equipped with a lid. I use a common canning jar for my dried parsley.
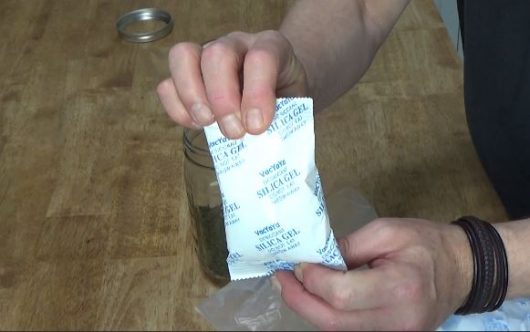 And as extra insurance against moisture, drop into the jar a packet of food-grade silica gel. Silica gel absorbs moisture. Click here to order Food Grade Silica Gel packets.
More parsley-drying thoughts:
Drying parsley is not an exact science. Moisture content — not the clock — will determine drying time. Temperature will affect quality. If the oven is too hot (above 170°F), color and aroma will be compromised.
Start small, and learn as you go. Try drying a small batch of parsley in the oven. If all goes well, then carry on with larger quantities (I have two trays of parsley in the oven as I write this). If the method does not meet your expectations, then you have lost only a handful of parsley — not an entire crop of it!
For how long will dried parsley keep? When properly dried and stored, parsley will remain viable for up to one full year.
What’s the best way to store dried parsley? Dried herbs should be kept in a cool dark pantry or cabinet. Never store parsley or any other dried herb in a cabinet over the stove — it’s too hot up there!
What kind of parsley is best for drying? I use flat-leaved (“Italian”) parsley because it seems to have more flavor than the curly-leaved kind. But both types are suitable for drying.
Hungry for more? Get my email updates.
Got any parsley-drying tips or tricks you’d like to share? Please speak your mind in the comments section below! xKevin

Kenneth C Kopsco says
Would I be safe to assume that the same process can be used for Cilantro?
p. s. Really enjoy your site and all the useful tips and recipes!
Jody says
Wonderful! I will try this next year. Do you have other tips for preserving sage and rosemary? I always cringe when that first killing frost takes them!
Kevin Lee Jacobs says
Hi Kenneth – I’m so glad you enjoy the recipes on this site! In regards to cilantro, you should be able to dry the herb in the same manner as parsley. Test a small batch of it to make sure you like the final product.
Hi Jody – I’ve had great success freezing the leaves of both rosemary and sage. To see the how-to, click on this post: How I Freeze Year’s Supply of Herbs.
Mary K Jett says
Thanks for this. Every year I bring my parsley in and it dies. Now I will dry it. Can Basil be dried the same way?
Kevin Lee Jacobs says
Hi Mary – Same method should work for basil. As always, first dry a small batch just to make sure you like the results!
Lise says
Kevin! Have been drying parsley, basil , oregano, thyme , rosemary etc for years, but I cut the herbs at the base of the plants and then put them in paper bags ( lunch) bags. And dry them. Then after a while when they are completely dry I remove them and a have this 5$ shredder that I’ve had for years and shred! But the problem with all this is that have one single cabinet that has all these paper bags in it!!! Your way is much better!!!! Thank you and thumbs up to you!
Susan says
Hi Kevin,
This year, no matter where I planted my parsley, the deer found it. First time ever. Really pains me to have to pay for a bunch of parsley when in the past I would just walk out the back door with my scissors…..
Funny, the parsley was the only herb they ate. No sage, oregano, cilantro rosemary basil.
They also topped all my tomato plants. Devils!
Marcy MacDonald says
Hi Kevin, I will go out there now and harvest all my parsley the way you did.
Thanks again for the advice.
Kevin Lee Jacobs says
Hi Lise – You are right — much faster than air-drying. Still, I like your bag-and-shred method!
Hi Susan – Sorry for your loss. Bad deer!
Hi Marcy – Yay for you! As always, first dry a small batch to make sure you like the results!
Rose says
Herbs keep more of their flavor and for longer if you dry the leaves whole and crumble them as you use them. If you are pre-chopping them like you do, they will dry overnight just spread out on the counter. Why do all that in and out of the oven and heat up the kitchen?
For Rosemary, hang up the washed and toweled branches to dry and then run your fingers down them to pop off the leaves. Tiny leaves of thyme and oregano, and for that matter almost all herbs, also air dry quickly on their stems. You don’t even need a paper bag unless you want to catch seeds. I hang mine right over the AC vents or from my dining room chandelier for good, dry, air circulation.
Kevin Lee Jacobs says
Hi Rose – I will have to try your idea (spreading the minced herb on the counter, and drying at room temp overnight). Too humid here now for oven-less drying. Brilliant idea to air-dry herbs over an AC vent. Sadly this 200 year old house is not equipped with central air!
Lori says
Wow, so easy!
I wish instead of throwing away the parsley at work I would’ve clipped them and took them home instead. I guess I can do that for the sage and basil that still in there. I am also going to watch your video on Rosemary. Do I use the same temperature for a convection oven? Or would it be less drying time as the air circulates inside it?
Ana says
I am in the process of drying and freezing all of my herbs. I like using the microwave better than the oven. I get a better result with color and flavor. I am not sure why.
Judy says
Super easy way to freeze herbs (especially good for cilantro, which doesn’t retain much flavor when dried):
Rinse and dry the herbs. Don’t bother to de-stem (except for the tough leafless ones) or chop. Push the dried herb as tightly as possible into the bottom edge of a zip top bag. Push out all the air and roll tightly, securing with a rubber band when rolled up to the top edge. Freeze the roll of herbs. When you are ready to use, take out the frozen roll and slice off as much as you need. Chop and enjoy the fresh from the garden flavor.
Lisa says
I leave my parsley whole and dry it stems and all. Once dry, the leaves easily fall away from the stems. But I like your method, too!
jackie serba says
Thanks for all the drying ideas. I have never dried my herbs before but I am going to now. Never realized how easy it could be..love..love..love
mlaiuppa says
I have my parent’s dehydrator but so far have only used it to do liver and kidneys for dog treats. I had a lot of herbs last year and only after they were gone did it occur to me I could have dried them. I’m hoping to have a nice crop this coming fall, winter and spring and this time I’m going to harvest them. I imagine the process for the dehydrator is similar to that of the oven. Low and slow.
Betty says
where do you find food quality silica gel packets?
Kevin Lee Jacobs says
Hi Betty – I ordered mine from Amazon. Here’s the link: Food-Grade Silica Gel Packets.
Debbie says
I wanted to thank you for the corn info. 4 min in the micro then no silk. It is the best and easiest ever way to make corn on the cob!! THANK YOU
Linda says
Hi Kevin
I discovered oven drying about 5 years ago. I do most of the herbs i grow every year. Saves so much time and money. I do like the idea of shredding to make uniform
Great idea as usual
Lori says
Believe it or not — I dry my herbs in my refrigerator! Residential refrigerators are notorious for pulling moisture out of things. I have dried mint, parsley, Cilantro. You name it. Chop it up, put it in a bowl or colander and in a few days you’ll have perfectly dried herbs.
Grani Frani says
Have been drying parsley like this for years. Probably learned it from you!
Pat C says
Dear Kevin,
I just watched your video of you making a butter pie crust. I have been making pie crust for 50 some years but I have never made it using the food processor. I will try it, maybe today. Your crust looked beautiful. Also, I loved watching the process of rolling out the crust. I’m grateful to you that you are willing to share your expertise with all of us. There is always something new to learn and actually seeing the process being done is worth a million words of written instruction. Also, HAPPY BIRTHDAY!
Thank you!
Kevin Lee Jacobs says
Hat Pat C – Thank you SO much!