Last updated on January 27th, 2022
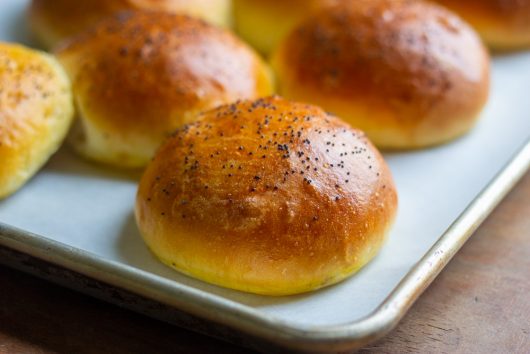 Probably I was a French baker in a previous life. How else can I explain my great passion for yeast dough? I love to mix it, knead it, shape it, and — after it has been baked — eat it! Today’s recipe is for the Homemade Sandwich Buns you see pictured above. Deeply bronzed on the outside, and buttery and brioche-like on the inside, these lovely breads invite sandwich fillings of all kinds. Of course they are terrific too for hamburgers, bean burgers, and Portobello Mushroom Burgers! Here’s the recipe, all tweaked and tested and waiting for you:
Click the “play” arrow above to watch me mix, form, and bake these sandwich buns. If you can’t watch videos, scroll down for the abbreviated photographic step-by-step. Or, just scroll to the end of this post for the printable recipe.
Blah, blah, blah. Here’s a photographic run-down of the recipe:
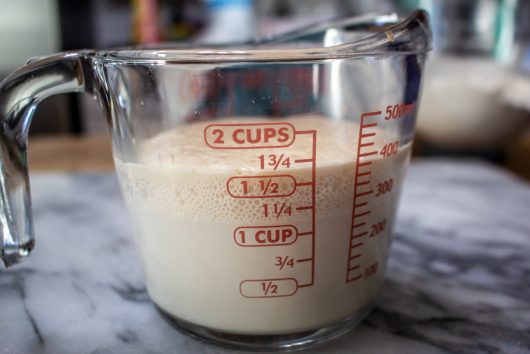 To start, pour the water and milk into a 2-cup glass measure. Microwave the liquids until they achieve 105-110°F — 30-45 seconds. Then whisk in the yeast and sugar. Let the mixture sit until it foams — 5-10 minutes. (If you know your yeast is viable, you do not have to let it foam or “proof” before using.)
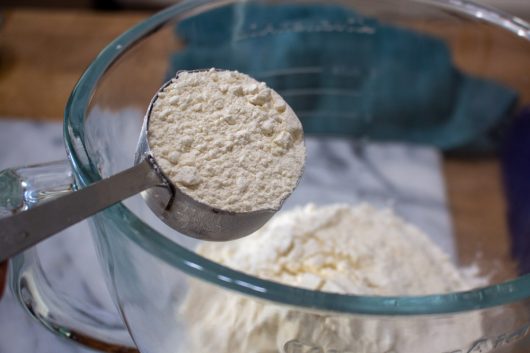 Meanwhile, in the bowl of a stand mixer, whisk together the flours and salt.
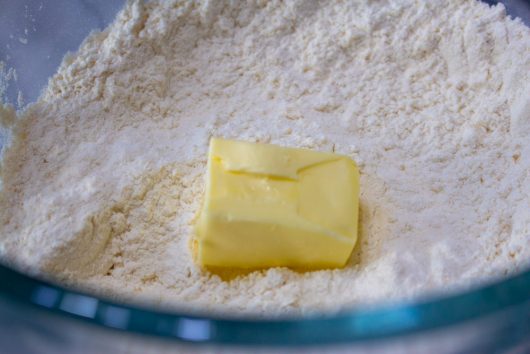 Fling the butter into the bowl…
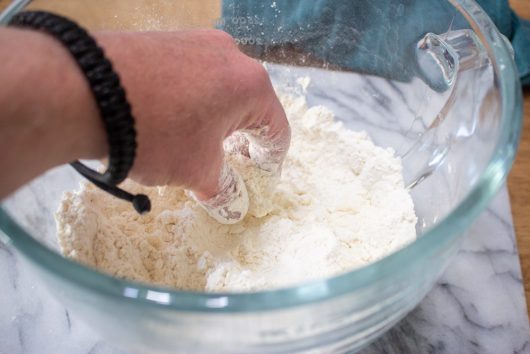 And rub it into the flour mixture with your impeccably clean fingers. You needn’t be too thorough here — just rub until the flour looks a little crumbly or until you become bored with the job.
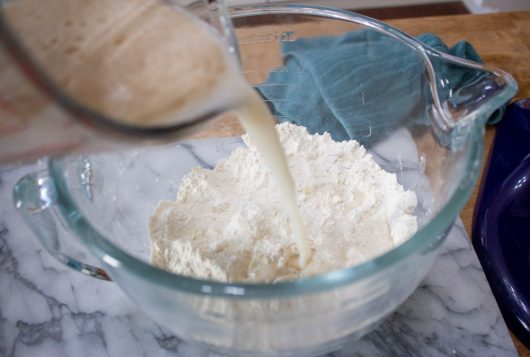 Pour in the yeast mixture…
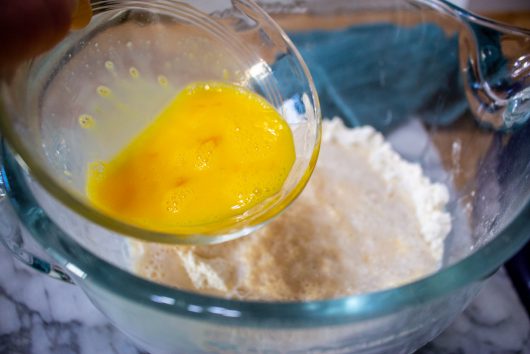 And the beaten egg.
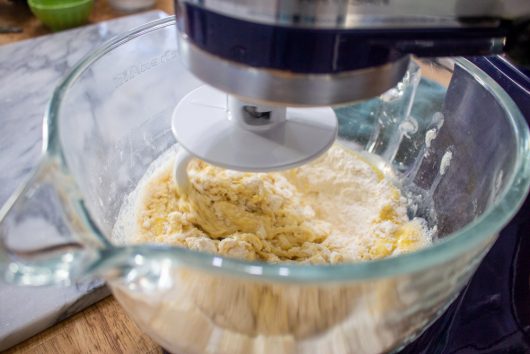 Using the dough hook attachment, knead the dough at low or medium-low speed for a full 10 minutes. Hint: set your timer.
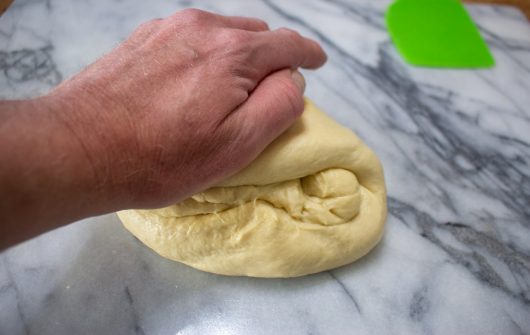 Scrape the sticky dough onto a non-floured work surface, and knead it a few times by hand. Then form the dough into a ball.
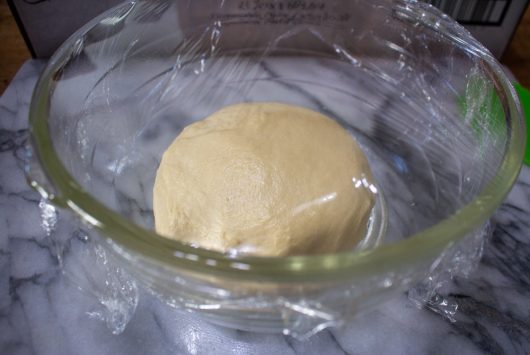 Put the dough in a large greased bowl, and then cover the bowl with cling film. Place the bowl in a warm location until the dough doubles in volume — 90 minutes to 2 hours. Take a nap.
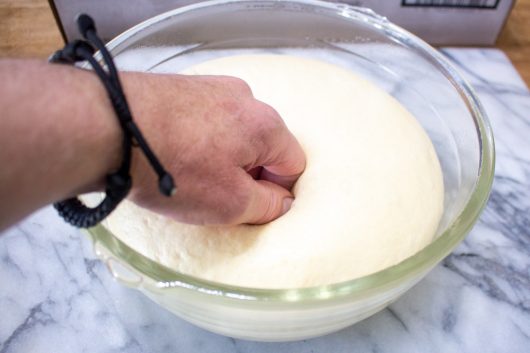 Punch down the dough!
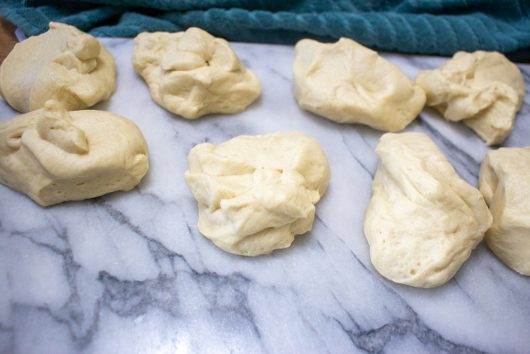 Divide the dough into 8 equal pieces (a kitchen scale is your friend here)…
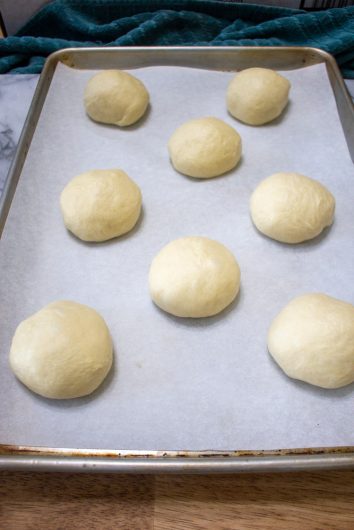 And form each piece into a smooth-topped ball (see video). Arrange the balls on a parchment-lined baking sheet, and cover loosely with greased cling film. Let rise until doubled in volume — 30 to 45 minutes.
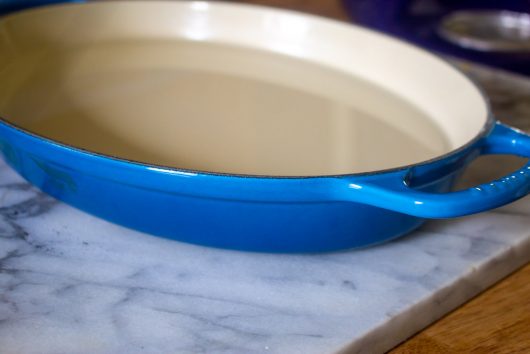 While the buns are rising, set a pan of water on the bottom of the oven. Then preheat the oven to 400°F. In about 30 minutes, the water will achieve a boil, and the oven will fill with blessed humidity.
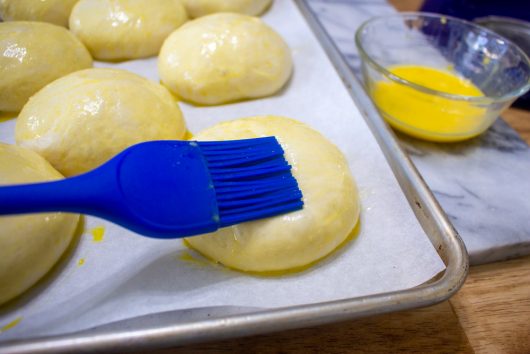 Just before baking, brush the dough with the egg-wash.
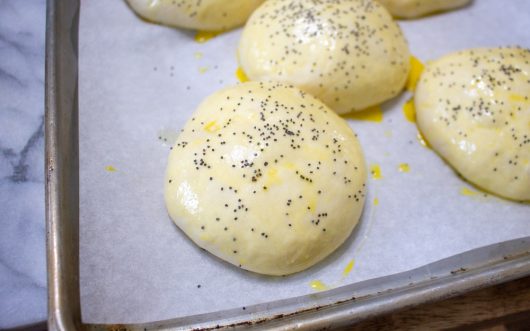 For a decorative touch, sprinkle the dough with poppy seeds or sesame seeds.
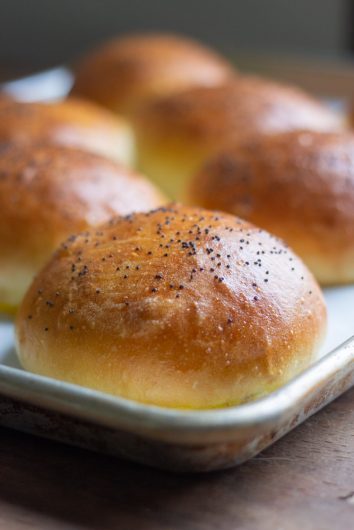 Bake until the buns puff and color attractively — about 18 minutes. Cool to room temperature before slicing.
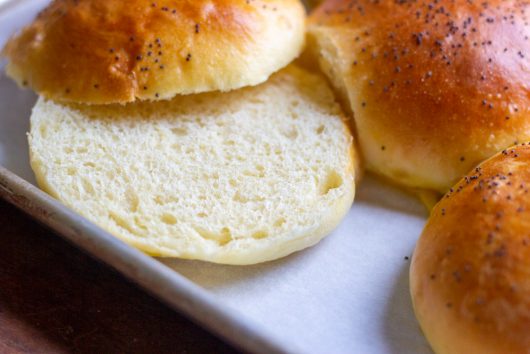 These Homemade Sandwich Buns have a soft, buttery crumb that is similar to brioche. I just love them!
Well. I hope you will give these Homemade Sandwich Buns a try. There’s nothing about them that isn’t wonderful.
SHOW ME YOUR BUNS! If you make these breads, post a picture and tag me on Instagram (kevinleejacobs) or Twitter (@KevinLeeJacobs). And do post a comment below because…I love hearing from you!
Hungry for more? Get my email updates.
Here’s the printable:
Homemade Sandwich Buns
Equipment
- A stand mixer outfitted with the dough hook
Ingredients
- 1 cup water
- 3 tablespoons milk
- 2 teaspoons active dry yeast
- 3 tablespoons sugar
- 422 grams bread flour
- 54 grams all-purpose flour
- 1 1/2 teaspoons salt
- 3 tablespoons unsalted butter, softened to room temperature
- 1 large beaten egg
For glazing the buns
- 1 egg beaten with 1 teaspoon water
For decoration
- Poppy seeds or sesame seeds -- a sprinkling for each bun
Instructions
- Pour the water and milk into a 2-cup glass measure. Microwave until the liquids achieve 105-110°F -- 30-45 seconds. Whisk in the yeast and sugar. Let sit until the mixture foams -- 5-10 minutes.
- In the bowl of the standing mixer, whisk together the flours and salt. Then add the butter, and rub it between fingers until the flour turns slightly crumbly -- about 1 minute. Add the yeast mixture and the beaten egg.
- Using the dough hook attachment, knead the dough at low or medium-low speed for a full 10 minutes. Then scrape the dough (it will be sticky) onto a non-floured surface and knead it a few times by hand. Grease or dampen your hands if the dough is too sticky to knead.
- Form the dough into a ball. Then drop the dough, smooth side down, into a large, greased bowl. Invert the dough to grease the other side. Cover the bowl with cling film, and then place the bowl in a warm location until the dough doubles in volume -- 90 minutes to 2 hours.
- Punch down the dough to deflate it. Put the dough on a non-floured surface, and cut it into 8 equal pieces. Form each piece into smooth-topped ball (see video), and place on a large parchment- or silicone mat-lined baking sheet. Cover loosely with greased cling film.
- Immediately place a pan of water on the bottom of the oven. Heat the oven to 400°F. In about 30 minutes, the water will achieve a boil and fill the oven with steam.
- Just before baking, brush the buns with the egg-wash and sprinkle on the poppy or sesame seeds.
- Bake the buns in the humid oven until they puff fully and color deeply -- about 18 minutes. Cool to room temperature before slicing.


Janet says
Hello, Kevin & thank YOU for your ongoing recipes, tips, hints & how to’s. These buns look so fab & it looks like even I could make them. I do not have the mixer that you use, I only have an old timey hand mixer. Will that work or can I do it by hand? If so, any tips for that? Thank you Kevin, I am so happy the day I “found you” on my computer a few years ago. Love your humor. Janet
Janet says
Hello, Kevin & thank YOU for your ongoing recipes, tips, hints & how to’s. These buns look so fab & it looks like even I could make them. I do not have the mixer that you use, I only have an old timey hand mixer. Will that work or can I do it by hand? If so, any tips for that? Thank you Kevin, I am so happy the day I “found you” on my computer a few years ago. Love your humor.
FYI: I have since watched your video & see where you did the buns by hand the day prior. Okay, I now think I can conquer this recipe.
Kevin Lee Jacobs says
Hi Janet – Thanks for watching the video! I’ve kneaded this dough entirely by hand. Don’t add any extra flour as you knead — just keep lifting and slamming the dough until it “behaves” itself! To see the slamming-job up close, please check out my video for white bread here: Basic White Bread (Hand-Kneaded). Enjoy!!!
Diane Perry says
Kevin- as always I learn so many little tricks from your videos. Cupping my hand to roll the dough into perfect round shape is “The Tip de Jour”. Thanks. I do a lot of bread baking but I’m always learning. Thanks
Kevin Lee Jacobs says
Hi Diane – I’m so glad the video was helpful to you. Thank you for watching it!
Anne Schmidt says
I’m definitely going to bake these! Your technique is the same one my grandma and mom used while baking bread every Tuesday when I was a kid. Grandma taught me how to fold the dough into itself to make perfect rolls. I loved our Tuesday bread-making days! Thanks for the memories 🙂
Kevin Lee Jacobs says
Hi Anne – I’m so glad! Let me know how these sandwich buns turn out for you!
Johanna says
Hello Kevin,
I’ve tried sandwich rolls several times over the past year to different results… none as good and as straightforward as these. Loved them and got rave reviews from the family. Thank you!
Linda says
Kevin. Those rolls look fantastic. I will definitely be making them..I love baking my own hamburger buns from a recipe I found years ago but this is less complicated.
Thanks
David Garlikov says
Kevin. You posted the directions just before I asked you to. You must have read my mind. I made the recipe, but changed the quantity to 5 on your calculator. That thing is great. I haven’t eaten any of the buns yet, but they look delicious. I actually did all the hard work in my bread machine. So, all I had to do after the rise was to make the individual portions, put ’em on the parchment lined baking sheet and stick them in the oven. I miscalculated and only got 4 full sized buns and one little one which I’m going to taste shortly. The others, we will have with burgers tonight. Thanks very much for the recipe.
Bonnie in Calgary says
So puffy!! I felt successful just putting them into the oven! I got a bit confused by the grams of flour, as my scale is demented (cannot possibly be me, right?) so I work with volume instead. But obviously it all came together perfectly, thank you again. And I will mention again that your blueberry bars continue to be a family favourite. Thank you for great foid, good advice, and for being you, dear Kevin.
Kevin Lee Jacobs says
Hi Joanna – I’m so glad!
Hi David – Glad you found my note on YouTube. Happy to know these sandwich buns worked out for you!
Hi Bonnie – Oh, the blueberry bars. So glad you like them as much as I do. Happy to know these sandwich buns were a success for you!
Rosemary patterson says
What a beautiful, soft dough to work with. They are rising as I type. I adore your recipes. Thank you!
rosemary patterson says
Buns are made and look sensational. The smell as they were baking was divine.
Question though. How do you store them? Can they be successfully frozen?
Thanks!
Kevin Lee Jacobs says
Hi Rosemary – So glad this recipe worked out for you! Then buns freeze very well. To make life a little easier, I always split the buns before freezing them.
Sheryl L Graves says
Kevin,
These rolls are a hit at my house (my chef boyfriend LOVES when I make them) – I end up freezing about half of them and then I make another batch as we start to empty the freezer.
Thank you!
Sheryl
Kevin Lee Jacobs says
Hi Sheryl – Happy to know that you are enjoying these sandwich buns!
touchedpainter says
Hi Kevin, I have been enjoying your recipes. I have been using a bread machine since the 1990’s and have been making all my own bread since the 1970’s. I am a 70yr old diabetic with a heart condition so I let my bread dough ferment for 24-72 hours like French Baguette so bread doesn’t spike my glucose. I will have to look, but have you done a recipe for English Muffins? I do have the EM rings for them, and of course other foods. Thank you, I hope to be back to let you know how they came out (I tend to lose webpages). I am making the hamburger buns right now; and will make these sandwich buns tomorrow. Thankyou again!!
Kevin Lee Jacobs says
Hi touchedpainter – Fermented bread dough is wonderful. Here’s my recipe for English Muffins (click here to view). Meantime, hope you enjoy both the Hamburger Buns and the Sandwich Buns!
Debbie says
OMG, These buns are so good. Thanks for the recipe, they came out exactly how I wanted. Delicious!!!
Kevin Lee Jacobs says
Hi Debbie – So glad you enjoyed these Sandwich Buns!
Lionel Kennedy says
Hello
thank you so much for your wonderful recipes and videos.regarding the sandwich buns would it be feasible to use all milk instead of water.many thanks
Lionel
Chit says
Hi Kevin!
I wish I can send you the photoof these hamburger buns which I perfected on my first try! Awesomely beauties! Thank you. And now am excited to go on the next recipe…oh wow your recipes on queue in my kitchen will not probably make it in my lifetime! Am 74 grandmother from the Philippines!
Kevin Lee Jacobs says
Hi Chit – I’m so glad!!!
Mary Ny says
Love the burger buns …can l use this recipe to make bread loaf
Kevin Lee Jacobs says
Hi Mary – You can absolutely turn this bread into a sandwich loaf. Enjoy!
Erika says
These buns are amazing. Soft with a little bit of chew which I looove. My 5 year old and I enjoyed making them together. He even took care of the egg wash and sprinkled some sesame seeds on his own. Thanks for a great recipe I look forward to trying more of them. Also I loved the addition of the video so I knew I wasn’t messing up haha
Whitney says
Thank you for the recipe! Unfortunately, mine never formed a ball after mixing with the dough hook for a full 10 minutes. It was a mess in the bowl. And suggestions on where I went wrong?
Arnor says
I just baked this tonight and it came out absolutely delicious! One of the best-tasting baked things I have ever tasted. I had to use flour on the counter to knead it after the mixer was done – it was slightly too wet and sticky to knead directly. Not sure if I was off on the liquid, but it was a tad bit too wet. A little sprinkle of flour took care of that. I couldn’t wait for them to cool down to room temperature before digging in – they were out of the oven maybe for 5 minutes when I couldn’t stand it anymore!
Gary says
I’m rather new to bread baking and found your recipe to be the best soft rolls so far my wife loves them thanks for sharing
ITP4ME says
Really great taste. I even forgot the first egg that goes into the yeast mixture, and the buns came out really nice. Looking forward to making this a second time, this time, following the recipe and including the egg!