Last updated on November 12th, 2018
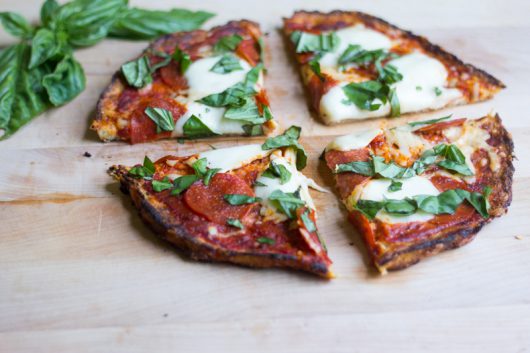 You might wonder why I’ve arrived so late to the cauliflower pizza crust party. In truth, I did not believe a crust made from one humble vegetable and one large egg could amount to something I’d actually want to eat. But life is full of surprises, my friends. I made the cruciferous subject last night, and it totally won me over. Here’s the step-by-step recipe:
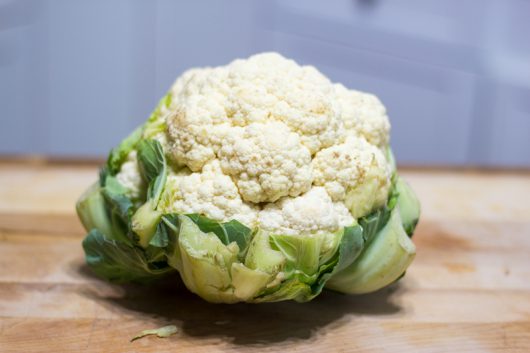 Take a head of cauliflower…
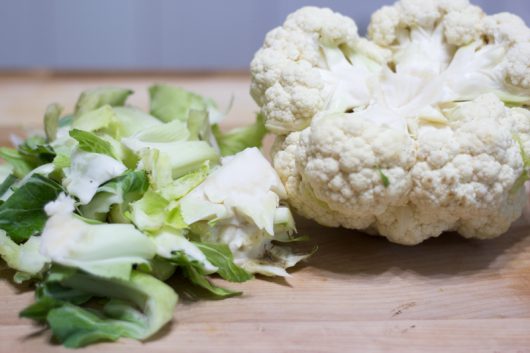 And remove the green leaves.
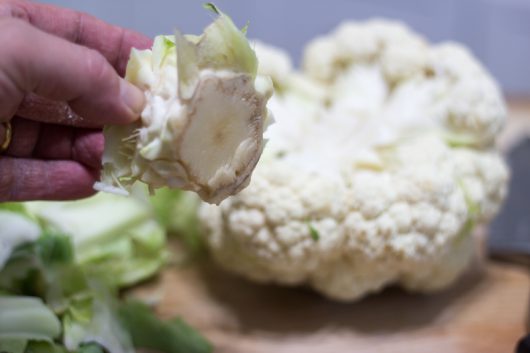 Then cut out the hard core…
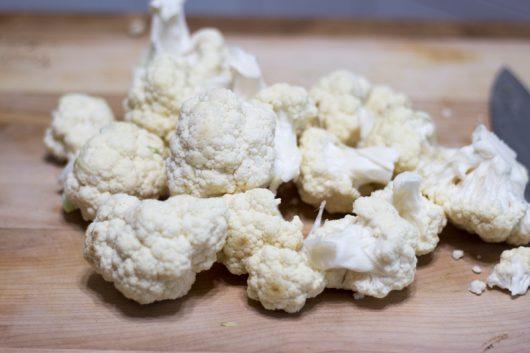 And break off the florets.
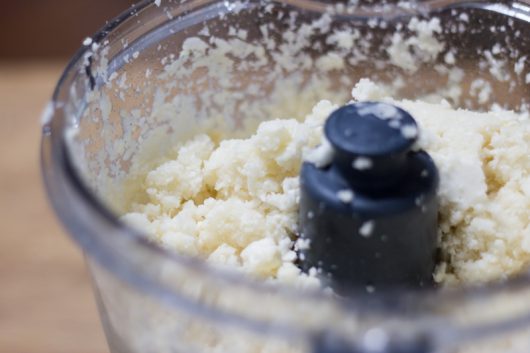 Working in small batches, pulse the florets in a food processor. When properly processed, the florets will resemble grains of rice.
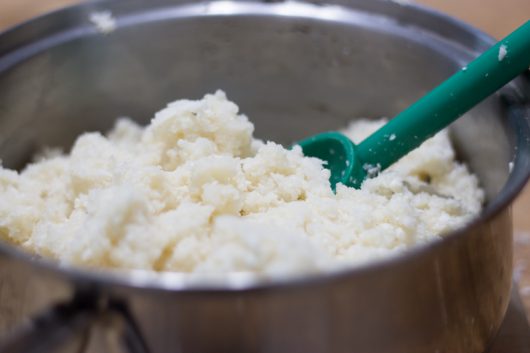 Next, put the “rice” in a medium sauce pan.
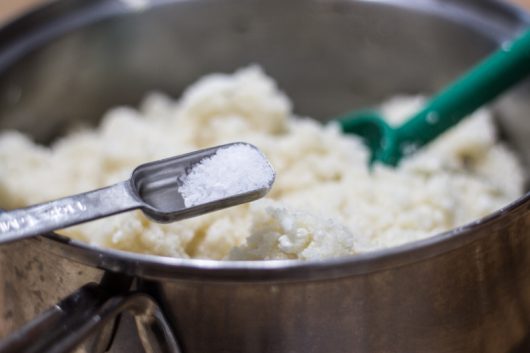
Add a big pinch of salt…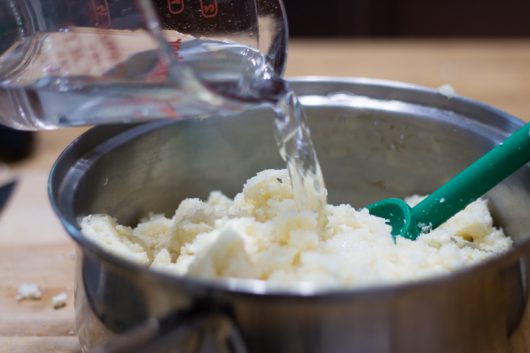 And 1/2 cup of water.
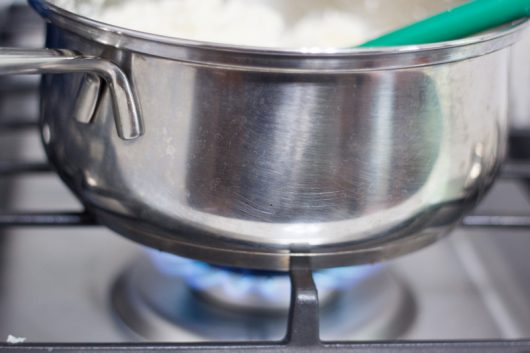 While stirring occasionally, heat the works over a medium flame for about 7 minutes. The goal is to cook the cauliflower long enough to soften it.
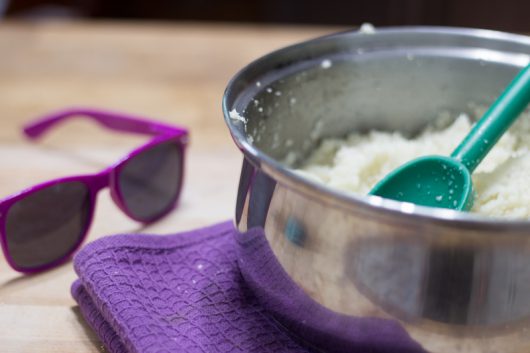 Remove the pan from the heat, and let the mixture sit until it’s cool enough to handle — about 30 minutes. (For faster cooling, spread out the mixture on a baking sheet.)
 Now unfold the clean-but-obscene kitchen towel that was gifted to you by your friends Sarah and Jane.
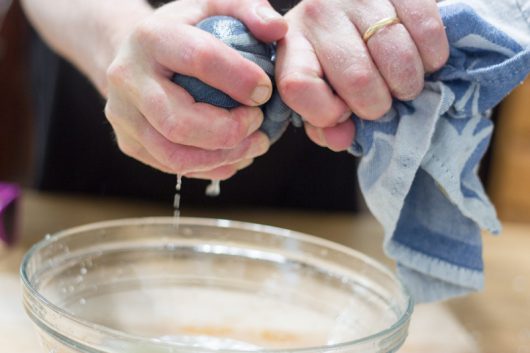 A handful at a time, place the cooked cauliflower in the center of the towel, and then twist and squeeze the towel to expel ALL of the water from the vegetable. This expelling step requires tremendous physical strength. If you are the dainty sort, please seek cauliflower-squeezing help from your tan and buff neighbor.
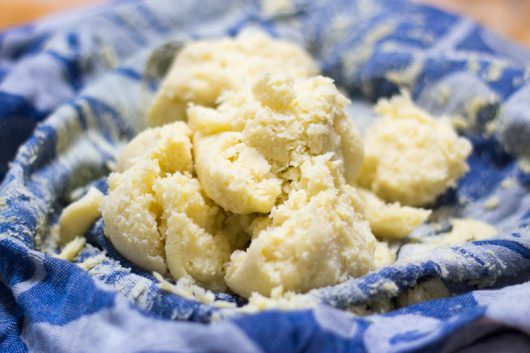 Your squeezed-out cauliflower will look like mashed potatoes. Minus the butter and cream.
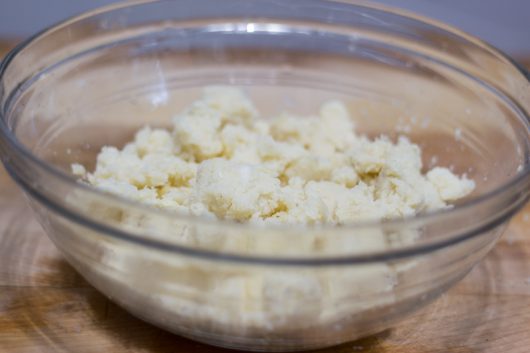 Transfer the mash to a medium bowl, and add each of the following:
 A handful of shredded Parmesan cheese…
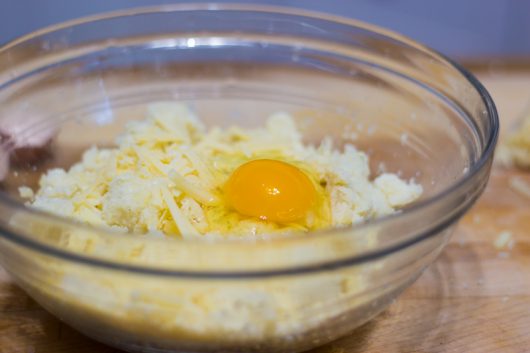 One large egg…
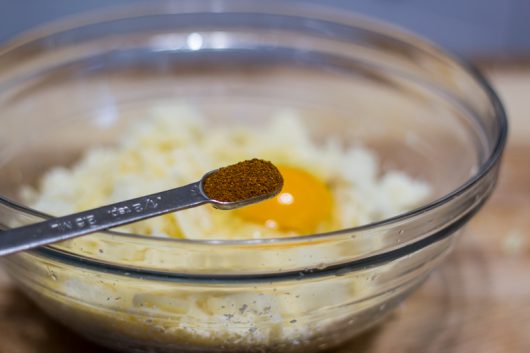 And a nice hit of cayenne pepper.
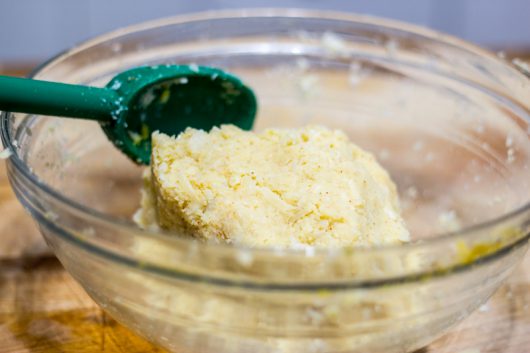 By spoon or by hand, thoroughly mix the ingredients to produce a ball of cauliflower “dough.”
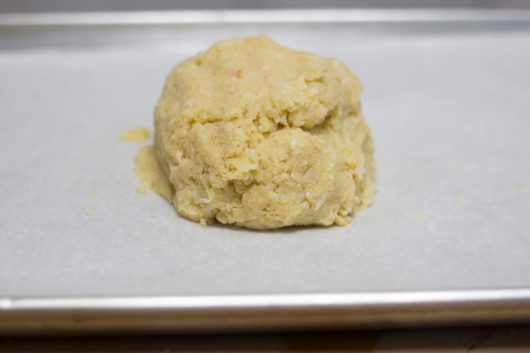 Then put the ball on a parchment-lined baking sheet. Parchment paper is important here, as nothing will stick to it.
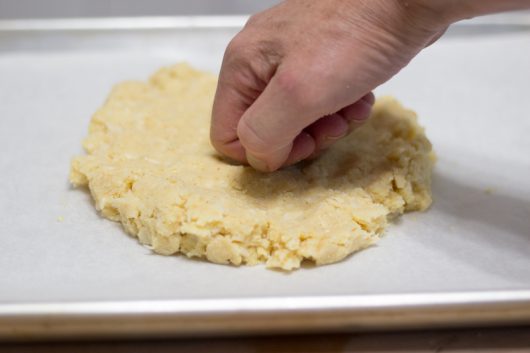 With a song in your heart, flatten the ball into a disk.
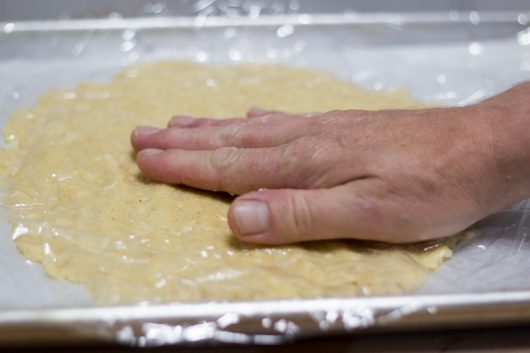 Then cover the disk with a large piece of plastic wrap…
 And press the dough into a 10-inch-diameter circle.
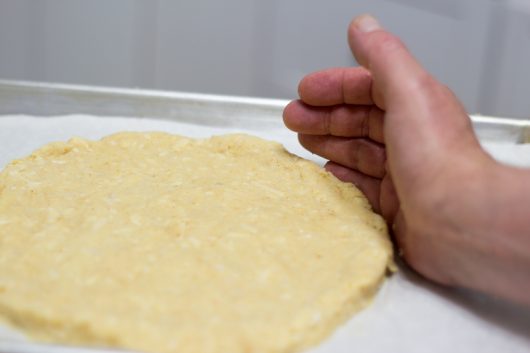 Then remove the plastic wrap, and and shore up the edge of the dough with the palm of your hand.
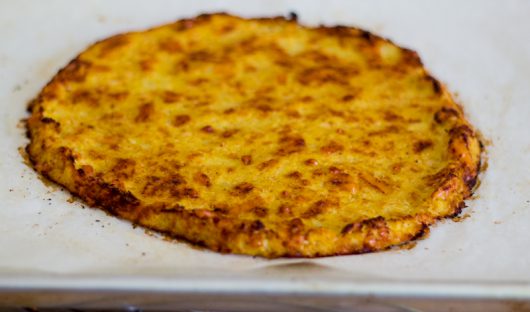 Now pop the dough onto the center rack of a preheated 400°F oven, and bake it according to your personal preference: 40 minutes for an attractive, spotty-brown crust…
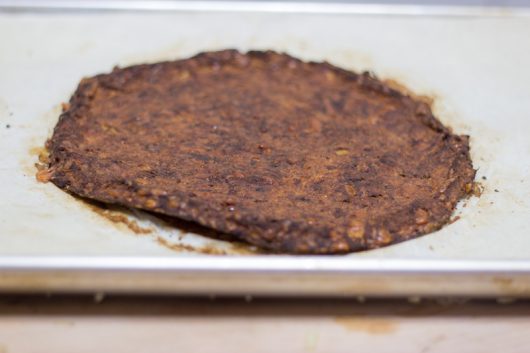 Or 50-60 minutes for a totally brown crust. True, this particular crust doesn’t photograph very well. But it does have a pleasantly crisp edge, a deep, caramelized flavor, and a texture that holds together perfectly well. It’s the cauliflower crust that I prefer to eat.
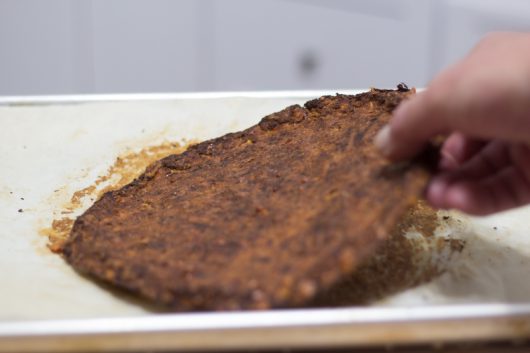 Let the crust cool for a few minutes, and then flip it over…
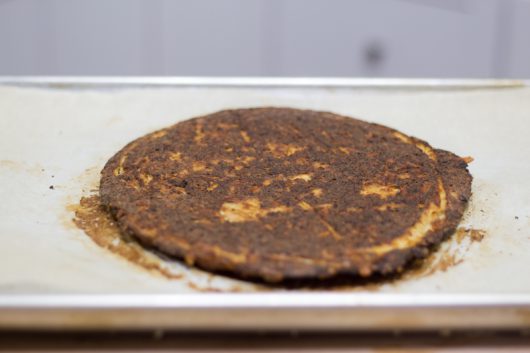 So that its dry underside is now on top.
Shall we turn our crust into a pizza?
Boost the oven temperature to 450°F.
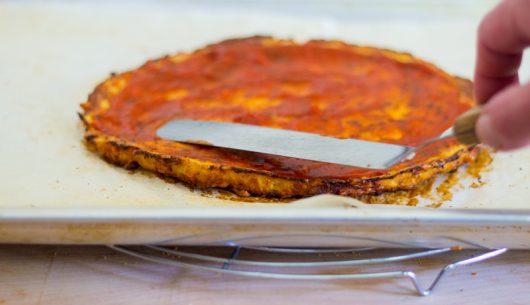 Then spread the crust with your favorite pizza sauce, and add whatever toppings you fancy.
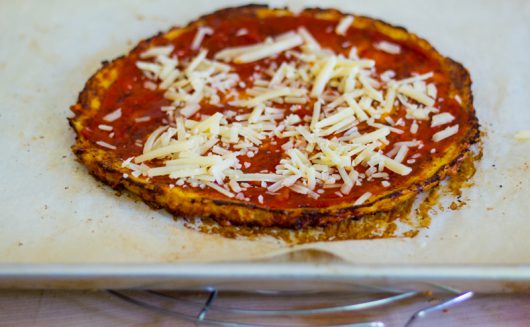 You could, for instance, add a handful of Parmesan cheese…
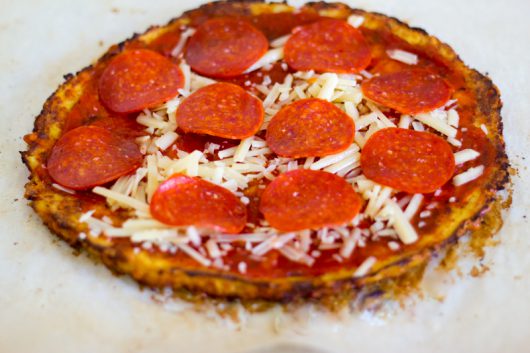 Some uncured, nitrate-free pepperoni…
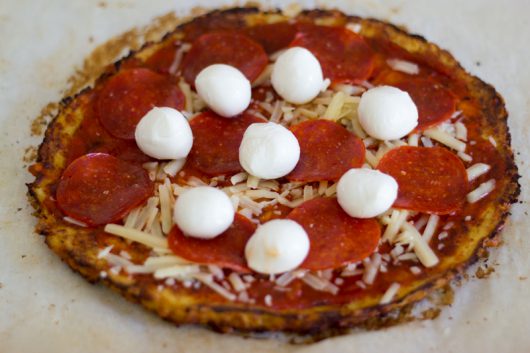 And some tiny balls of very fresh mozzarella.
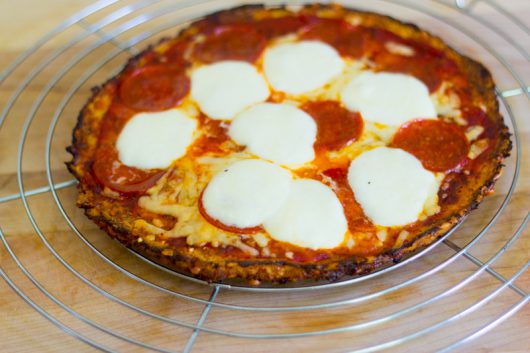 Bake in the preheated oven until the cheese melts — 10-12 minutes.
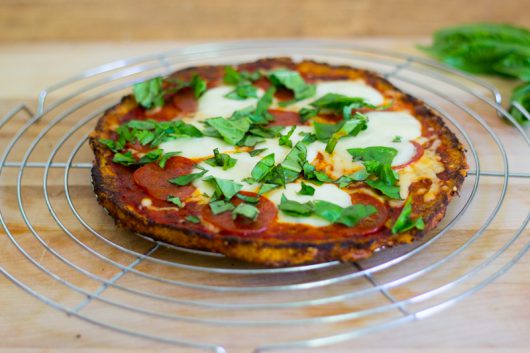 Place the pizza on a wire rack for 5-10 minutes, and then, if you wish, scatter some fresh, torn basil leaves over the pie.
 Now cut your creation into four wedges…
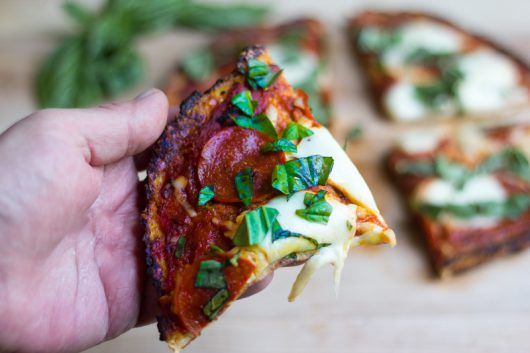 And enjoy each wedge without the slightest degree of guilt. For this pizza is not only gluten-free — it’s nearly carb-free, too!
Hungry for more? Get my email updates.
Here’s the printable:
A low-carb alternative to a flour-and-yeast pizza crust. For a big flavor kick, I like to season the "dough" with cayenne pepper.
Ingredients
- 1 head cauliflower
- 1/2 teaspoon salt
- 1/2 cup water
- 1 large egg
- 3/4 cup shredded Parmesan cheese
- 1/2 teaspoon (or more or less to taste) cayenne pepper
Instructions
- Pull off any green leaves from the head of cauliflower, and cut out the hard core. Then separate the white florets, and pulse them, in small batches, in a food processor. When properly processed, the florets will resemble grains of rice. Transfer the "rice" to a medium sauce pan, add the salt and the water, and cook, stirring occasionally, over medium heat until the cauliflower softens -- about 7 minutes. Remove the pan from the heat, and let the mixture cool to room temperature.
- Center the oven rack, and heat the oven to 400°F. Also, line a baking sheet with parchment paper.
- One handful at a time, put the cooled cauliflower in the center of a clean kitchen towel, and tightly twist and squeeze the towel to expel all of the water from the cauliflower. Put the squeezed-out vegetable in a medium bowl, along with the egg, Parmesan cheese, and cayenne pepper. Use a spoon or your hands to thoroughly mix the ingredients until they resemble a soft dough. Form the dough into a ball, and place it on the prepared baking sheet. Press the dough into a disk, then cover the disk with plastic wrap. Press down on the covered dough with the flat of your palm to form a 10-inch-diameter circle. Remove the plastic wrap. Shore up the edge of the dough with the palm of your hand.
- Bake in the preheated oven until the top of the crust is spotty brown -- about 40 minutes. Or, for a more crisply-edged crust, bake until the top is completely brown -- 50 minutes to 1 hour. Transfer the baking sheet to a wire rack to cool for 5 minutes. Then invert the crust.
- To make a pizza, first increase the oven temperature to 450°. Then spread the crust with your favorite pizza sauce, and toppings such as pepperoni and mozzarella cheese. Bake until the cheese melts -- 10-12 minutes. To avoid a soggy crust, put the pizza directly on a wire rack, and let it cool for 10 minutes before slicing into 4 wedges.

Janis says
Cauliflower crust is so wonderful. Will definitely try this ‘from scratch’ recipe. Thank you, Kevin.
Kevin Lee Jacobs says
Hi Janis – If you try this recipe, please let me know how it turns out for you. Still surprised that I liked the crust!
Diane Hinkle says
My mouth is watering. Looks delicious! I have not tried the cauliflower crust as yet but with this wonderful endorsement, I will!
Lynn says
I think I’ll have to try it as I’m not convinced yet.
Andrea says
I roast the cauliflower first! It’s yummy!
Luanna says
Well, I’m dyed-in-the-wool gluten eater but because YOU have given this an endorsement, I’ll give it a try. And it does look mighty tasty. Also, where can I purchase those darling kitchen towels? You need to ask your friends where they bought them … I’ll wait while you go ask …
Stacey says
Is the Parmesan cheese essential to the consistency of the crust? Or is it just for flavor? I ask because I am lactose intolerant but still love a good veggie pizza even without any cheese. If I were to leave out the Parmesan, do you think it would just fall apart? Or is there something I could/should use as a substitute? Thanks!!
Korki says
I have pinned the recipe to try when it’s a bit cooler than the 90 degrees outside.
Samantha Gray says
This looks beautiful. My husband asked what we are having for dinner tonight, and I replied “Something simple’ since the nice demolition crew is here to rip out the old bathroom today! Now I know what’s for dinner.
susan wright says
Can you suggest a vegan option? So a substitute for the egg & cheese?
Jayne says
To make this a little easier you can find cauliflower already minced in bags. I get it at Trader Joe’s.
Connie McK says
WOW – I just recently learned about “Cauliflower rice”. This recipe is so timely for my new dietary needs. I love cauliflower. This will be a treat. Thank you so much, Kevin!
phyllis says
“Eat Up Bitches” ????????????????????
However, the recipes looks yummy.
Sharon says
Will have to try this…so glad you cook with a song in your heart…always helps…
Jeanne says
I use my largest size shredder disk for my food processor and feed the pieces down the shredding tube. It’s a lot easier than doing small amounts with the blade and makes perfect “rice”.
Kevin Lee Jacobs says
Hi Stacey – Parmesan (or another hard cheese, such as Asiago) helps to bind the crust so it won’t fall apart.
Hi Samantha – Let me know how the crust works out for you!
Hi Jeanne – Good idea to shred the florets via the processor’s feed tube. I’ll do that next time!
Joy says
Does anyone know how many calories are in this?
Beth says
Does anyone think it might work by just making the cauliflower into more of a flour, like a regular pizza crust, then adding the cheese and some oil instead of water? My vita-mix only has two settings and the high could probably grind it so fine that it might be just like a flour. Plus it would save a lot of time and energy. I don’t think I would even have to cook it until I kneaded it into a “crust” then baked. I will probably have to try it myself, but would still like anyone’s thoughts about it.
Lori Schmidt says
I have been wanting to try this for ages, have ha a head of cauliflower on more than one occasion and had to ditch it because just did not have time. I tried it last night and it was DELICIOUS!!!! I did not have parmesan so just added a sprinkle of cheddar (not a whole lot maybe 1/4 cut or even less as I dont do dairy a lot) and the crust held together just fine. I also did mayo as the base (did not have a tomato pizza sauce) instead of tomato and then added green pepper diced, tomato diced, mushrooms sliced and Litelife Vegan Italian sausage sliced, and it was to die for. I will definitely be doing this again.
Kevin Lee Jacobs says
Hi Beth – hope someone has an answer for you!
Hi Lori – Glad you liked the crust! (I made the pizza again last night…sooo good.)
Martha Robinson says
Just as you’ve been waiting to try this recipe, I’ve been waiting for one that doesn’t end up soggy! I bought cauliflower last night, and here in my inbox this morning was your recipe. I made it for breakfast! I have always been grateful for your method of freezing zucchini – it’s the only way they don’t end up mushy – and I think that squeezing out the liquid is the secret here as well. I also did the longer bake time on the crust, and that probably helped, too. Whatever the secret is, I am grateful, and this will be a low-carb staple for me. I appreciate the low-carb hints, as I am working on dropping some weight so that my new knee replacement will be happy. I love your videos and your newsletter, and your cookbook!!!
Pam R says
Love the recipe, and LOVE the towel too!! Your friends have great taste!
Joanne S says
I’m confused. We shore up the dough and bake it with the shored side up, but then turn the crust over to the flat side to add the toppings? If we’re to add the toppings to the flat side, why do we shore up the dough on the other side?
I have this in the oven now and am eager to see how it turns out.
Kevin Lee Jacobs says
Hi Joanne S – I shore up the “dough” just to make sure the edge isn’t thinner than the middle. Bottom of the crust will be drier than the top after baking. By putting sauce, etc., on this dry side, you can avoid a too-soggy crust. If you get the chance, let me know how the crust turned out for you!
kathleen says
I just got around to making this–best ever- I tried both baking time s for the crust and the longer time is excellent- the hardest part of this is squeezing out the water but sooo worth it! thank you!!
Kevin Lee Jacobs says
Hi Kathleen – Music to my ears!